- Home
- UFAI in the News
- UFAI Medical Publications
- Insights On Maximizing Outcomes With The Lapidus Procedure
Insights On Maximizing Outcomes With The Lapidus Procedure

Written by: Dr. Bob Baravarian, DPM, FACFAS
The Lapidus bunionectomy has slowly but steadily grown in popularity over the past decade in the United States. In the past three years or so, several orthopedic companies developed new products and techniques that allow foot and ankle surgeons to perform a more consistent and reproducible Lapidus procedure. However, there is no shortage of pitfalls associated with first tarsometatarsal joint fusions. Although in my experience, the Lapidus bunion correction can allow significantly better bunion alignment and long-lasting correction in the right candidate, mistakes in performing the procedure can lead to an unstable and malaligned first ray position. This can subsequently result in long-term foot and ankle pain, and difficulty walking for the patient.
Accordingly, I would like to discuss current concepts concerning the Lapidus technique, including some step-by-step pearls that have worked in my practice.
The original Lapidus procedure was described as a fusion of the first metatarsocuneiform joint and a fusion of the intercuneiform/first and second metatarsal base region.1 Over the years, the procedure evolved to mainly be a fusion of only the first metatarsocuneiform joint. However, one of the main problems with bunion recurrence following the Lapidus procedure is not addressing intermetatarsal and intercuneiform instability.2
In such cases, a fusion of those joints may be necessary to avoid intermetatarsal spread. My number one concern for Lapidus procedures is making sure to address this issue. At the time of surgery and once I realign the first metatarsal, much like checking a syndesmosis for instability, I will stress the intercuneiform joint by pulling on the first metatarsal in a lateral to medial direction. If there is instability, one must address this.
My prior technique involved running a screw from the medial to the intermediate cuneiform, running a screw from the first metatarsal base to the second metatarsal base or running a screw from the first metatarsal to the intermediate cuneiform. Although this allowed for additional stability, no true bone bridge would form in that region. If hardware removal became necessary, this could result in instability.
I have adjusted my fixation to using the OSSIOfiber® Trimmable Fixation Nail (OSSIO). This nail is made out of a natural material that integrates into the region of placement and is slowly replaced by bone. The fiber acts similarly to a bone graft in that it forms a bridge for bone growth in the region in which the surgeon places the nail. The OSSIO nail is much like utilizing a screw with placement of a K-wire in the desired region. The surgeon can use a drill to make a pilot hole and then place the nail in the drill hole.
I have found this technique easy to execute from the first metatarsal base to the second metatarsal base and also from the first metatarsal base to the intermediate cuneiform. My current preferred technique is to place a nail from the first metatarsal into the intermediate cuneiform, making sure to avoid the second metatarsocuneiform joint cartilage. This nail acts as a stabilizer of the first metatarsal and intercuneiform regions. Over time, a bone bridge forms as a replacement to the OSSIO nail, which adds long-term and lasting stability.
Key Considerations In Joint Preparation
Several new Lapidus techniques require the use of a saw to perform an angled cut at the base of the first metatarsal for correction of the bunion deformity. Although these new techniques allow for simplification of the Lapidus procedure in theory, there may be associated problems with the use of a saw and burning of the bone.
In 20 years of experience performing the Lapidus procedure, I have never needed to use a saw cut. My preferred technique is to distract the joint and perform cartilage removal with a combination of an osteotome, curette, and rongeur. No bone burning occurs and the joint surfaces remain stable without removing the subchondral bone. I then shingle the surface with an osteotome to allow cross bleeding. The lateral base of the first metatarsal may have a prominent flange that needs flattening with an osteotome purely by scraping it. The bone comes off fairly easily and will allow further intermetatarsal angle correction. By performing the joint preparation in this manner, there is no bone burning risk and the rate of fusion with over 2,000 cases in my practice is approximately 99 percent.
Assessing The Adjunctive Use Of Bone Marrow Aspirate To Bolster Lapidus Fusion Potential
For the past 10 years, I have added a bone marrow aspirate to my fusion cases with harvests taken from either the calcaneus or the distal tibia. More commonly, I perform the aspiration from the posterior calcaneal body as it is easy to perform and very safe. I use a Jamshidi needle to perform the aspiration and pass the aspirate off the table to be spun and concentrated. I then use the Jamshidi needle to harvest two to three dowel grafts of bone from the calcaneus to fill any bone voids in the Lapidus fusion site.
I proceed to place the bone marrow concentrate into the shingle regions of the first metatarsocuneiform joint prior to fixation. It is also wise to keep a small amount of the concentrate available for placement prior to closure of the joint by injecting it around the fusion site.
Essential Fixation Principles
There is no doubt that fixation is the key to weight-bearing. Proper fixation allows for rapid weight-bearing and compression. Over the years, my choice of fixation progressed from crossed screws to one crossed screw and a plate to one staple and a plate/staple construct. Currently, I use two CrossRoads Extremity Systems compression staples (HiMax Plus® with Keel Lock™ addition if necessary) and one 4.0 mm OSSIO nail for my fixation in lighter weight patients. Alternately, I add a plate to one of the staples (DynaForce® plate with HiMax staple) in heavier-set patients or those with potential adherence issues.
My staple choice has also changed in that I use a broader staple that is not as tall but is wider. I also have begun to use the CrossRoads staple with a central additional flange that adds stability in the bone. Currently, my regimen is one 18 x 18 mm staple from dorsal to plantar with the central flange and a 15 x 15 mm staple from medial to lateral, which has a wide body but without the additional flange. After I correct and stabilize the first metatarsocuneiform joint, I then run an OSSIOfiber nail from the first metatarsal to the intermediate cuneiform for added stability of the ray and intercuneiform joint.
What About Post-Op Weight-bearing?
Over time, I have also emphasized earlier weight-bearing for patients after Lapidus procedures. One of the biggest problems in the past with the Lapidus procedure was the lack of ability to bear weight. However, with the advent of new fixation techniques, weight-bearing is possible far earlier. Over the years, I began to weight-bear patients at six weeks post-op, then four weeks, then two weeks, and then immediately.
However, I found the sweet spot for patients is at two to three weeks post-surgery. The reasons are pain and swelling. When I allow immediate weight-bearing, the region of surgery becomes far more swollen and, due to the closed environment of the cast, the patient has a very difficult time with pain. However, at two to three weeks post-surgery, the swelling has subsided enough to allow weight-bearing without pain and in a safer timeframe. We also move our patients from a cast to a walking boot at the two to three-week point so they can remove the boot, ice the region, and shower. This has significantly improved patient comfort and satisfaction in our practice with the Lapidus procedure.
Don’t Underestimate The Impact Of Physical Therapy
One final key to excellent outcomes with the Lapidus procedure is the need for physical therapy. Patients find physical therapy comforting and reassuring, and in our practice, there is a far higher rate of satisfaction with the Lapidus procedure following physical therapy.
Earlier in 2020, we had to stop physical therapy services at our institution due to COVID-19 restrictions. We gave patients who missed physical therapy detailed home exercises to perform following Lapidus bunion procedures. However, we noted an increase in stiffness, swelling and pain following surgery for a longer period of time than we are used to for our patients due to this lack of supervised physical therapy. Once physical therapy services reopened, our Lapidus outcomes returned back to normal with a far more rapid return to shoes and activity.
In Conclusion
I encourage you to think about all aspects of the Lapidus procedure and consider the options that work best for you in order to have the best outcome for your patients. I perform a completely different Lapidus procedure now than I did in my residency training with different joint preparation, different fixation and a different weight-bearing protocol as I have constantly evolved and improved my approach. I believe this ongoing reevaluation and evolution are essential for growth as a surgeon, and also in the best interest of our patients.
Dr. Baravarian is an Assistant Clinical Professor at the UCLA School of Medicine. He is the Director and Fellowship Director at the University Foot and Ankle Institute in Los Angeles. Dr. Baravarian discloses that he is a speaker and shareholder with OSSIO and Crossroads Extremity Systems
References
1. Lapidus PW. The operative correction of the metatarsus primus varus in hallux valgus. Surg Gynecol Obstet. 1934;58:183-191.
2. Fleming JJ, Kwaadu KY, Brinkley JC, Ozuzu Y. Intraoperative evaluation of medial intercuneiform instability after Lapidus arthrodesis: intercuneiform hook test. J Foot Ankle Surg. 2015; 54(3):464-472.
 I went to Dr Franson after seeing 3 other doctors. He was the only one whom knew what was wrong with my feet! He really knows ...Dana H.
 Great experience. Great communication. Great direction for my care. Very happy I chose to go with this particular doctor and o...Christopher R.
- Great service and care. Highly recommend Dr. Franson.David B.
- If you have to go see a Doctor than this is a great experience.Frank M.
- Dr. Redkar is AMAZING. She is patient with my passionate 5 year old and a GREAT doctor. I am truly lucky to have my daughter be...Marisol H.
- My doctor was great. Really greatRudolph B.
- Good.David E.
- Your Santa Barbara office and Dr. Johnson always give me excellent care!Jayne A.
- My husband and I both see Dr Briskin in the Santa Monica location. We always get great care from him and his staff!!Carlene M.
- Dr. Gina Nalbadian was amazing!! I came in with an emergency foot situation and she had wonderful bedside manner and resolved m...Danielle C.
- I was frustrated that after 3 weeks I still hadn’t heard back about my PT referral status. And I did sit in a room for over 30 ...Sarah C.
- I’m very pleased with Dr. Kelman.Alan S.
-
 Listen Now
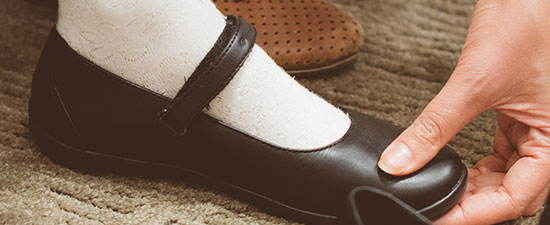
If the Shoe Fits, Wear it… Especially for Kids Shoes!
Read More
Listen Now
If the Shoe Fits, Wear it… Especially for Kids Shoes!
Read More
-
 Listen Now
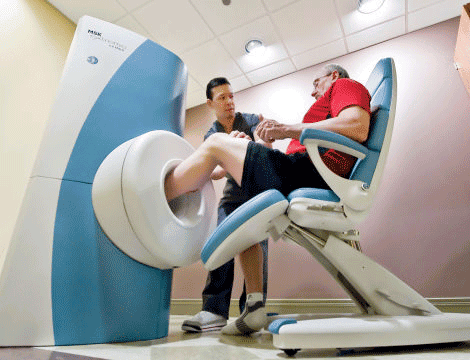
Revolutionizing Extremity Imaging: UFAI's Open MRI for the Foot and Ankle
Read More
Listen Now
Revolutionizing Extremity Imaging: UFAI's Open MRI for the Foot and Ankle
Read More
-
 StimRouter: A Revolutionary Approach to Targeted Pain Relief
Read More
StimRouter: A Revolutionary Approach to Targeted Pain Relief
Read More
-
 Listen Now
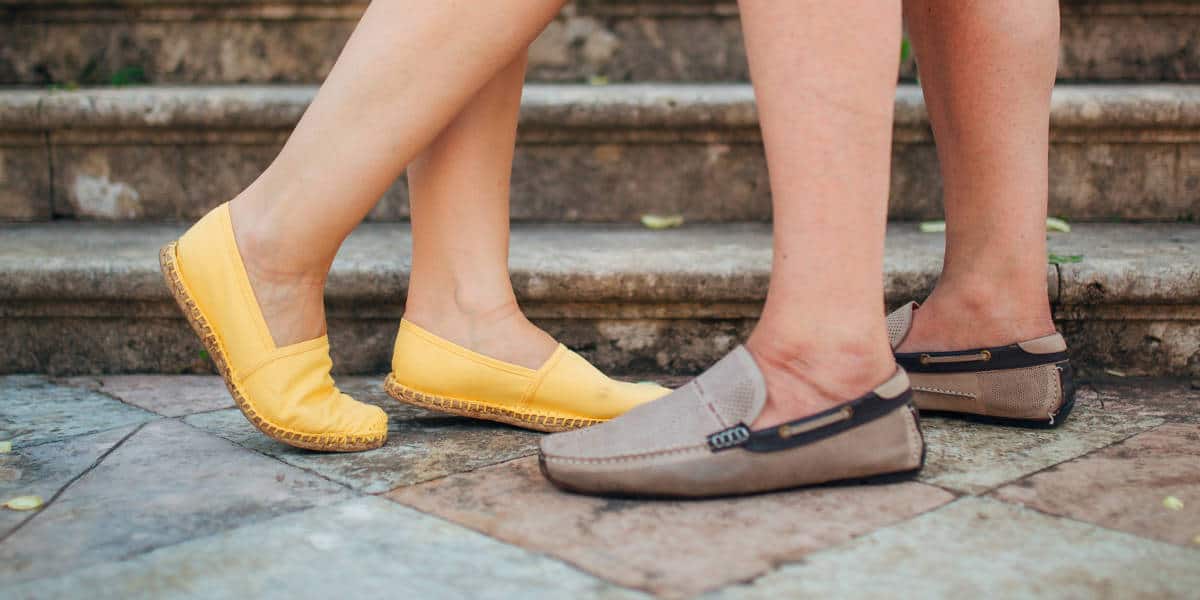
Revealing the Secrets of Men's and Women's Shoe Sizes: Why Are They Different?
Read More
Listen Now
Revealing the Secrets of Men's and Women's Shoe Sizes: Why Are They Different?
Read More
-
 Listen Now
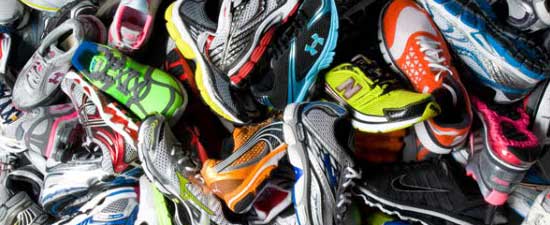
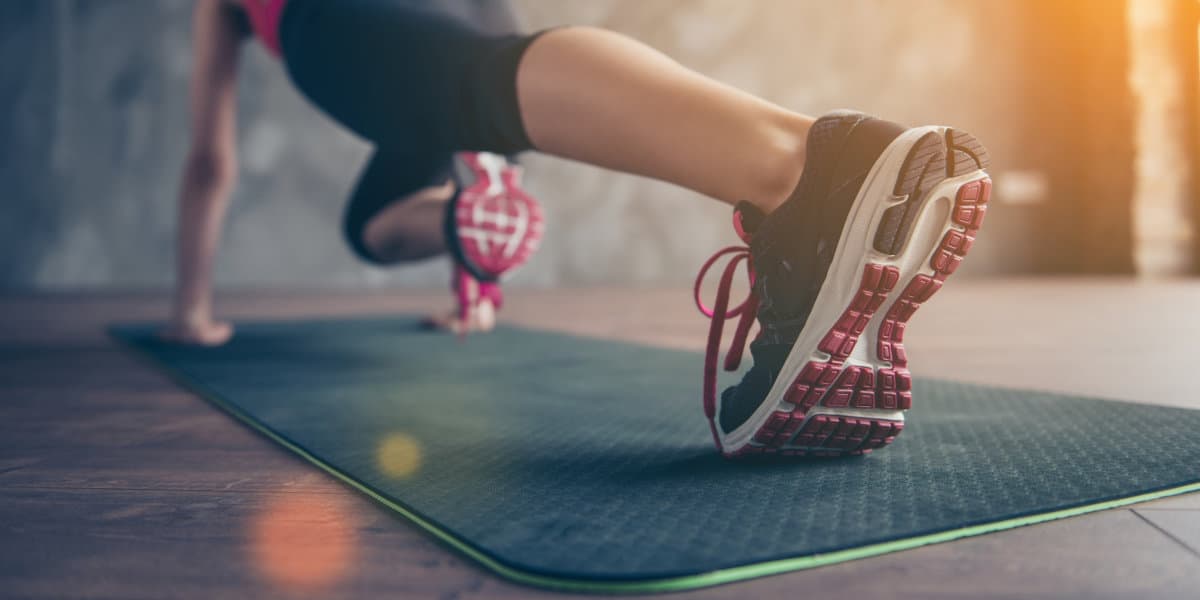
How to Choose Running Shoes: 6 Essential Steps
Read More
Listen Now
How to Choose Running Shoes: 6 Essential Steps
Read More
-
 Listen Now
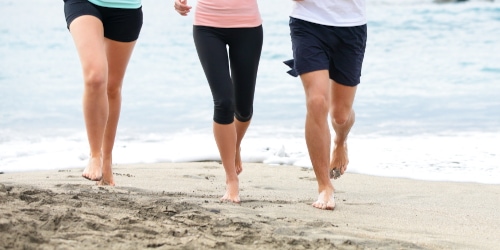
Is Barefoot Running Better? Or are you Running Toward Injury?
Read More
Listen Now
Is Barefoot Running Better? Or are you Running Toward Injury?
Read More
-
 Listen Now
The Power of Pediatric Flexible Flatfoot Procedures
Read More
Listen Now
The Power of Pediatric Flexible Flatfoot Procedures
Read More
-
 Listen Now
Common Foot Problems In Aging Feet: What To Watch Out For
Read More
Listen Now
Common Foot Problems In Aging Feet: What To Watch Out For
Read More
-
 Listen Now
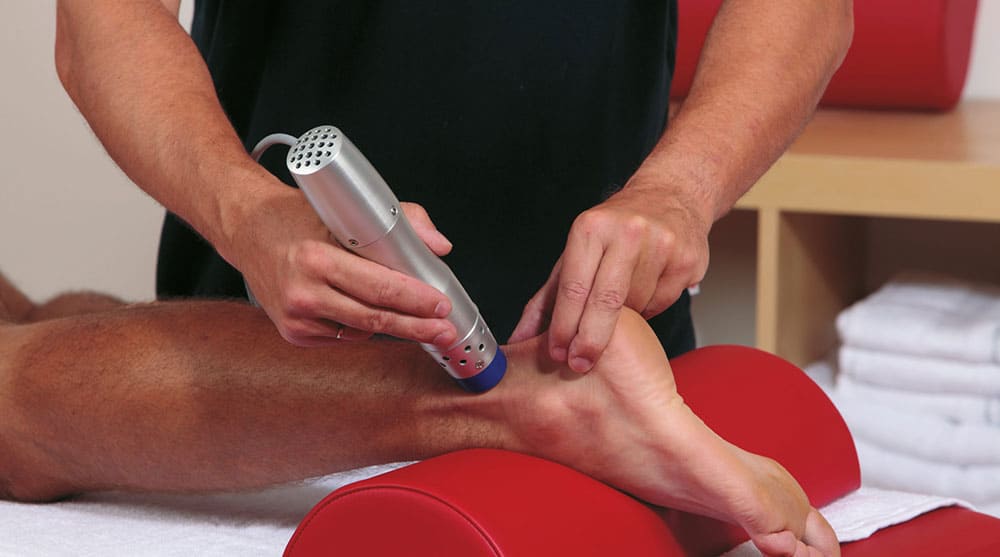
An Inside Look at Shockwave Therapy for Heel Pain, now available in Valencia, CA
Read More
Listen Now
An Inside Look at Shockwave Therapy for Heel Pain, now available in Valencia, CA
Read More
-
 Listen Now
9 Running Tips from Sports Medicine Experts
Read More
Listen Now
9 Running Tips from Sports Medicine Experts
Read More
-
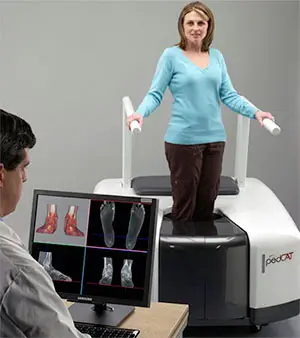 State-of-the-Art CT Scanning, Now in Our Office
Read More
State-of-the-Art CT Scanning, Now in Our Office
Read More
-
 Listen Now
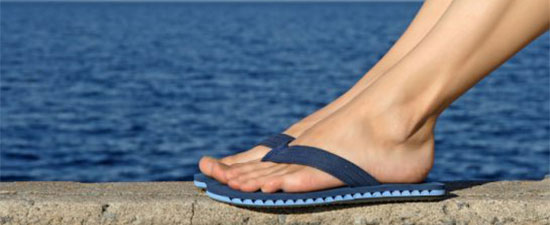
Flip-flops Causing You Pain? Protect Your Feet This Summer!
Read More
Listen Now
Flip-flops Causing You Pain? Protect Your Feet This Summer!
Read More
-
 Listen Now
Why Are My Feet Different Sizes? It's More Common Than You Think
Read More
Listen Now
Why Are My Feet Different Sizes? It's More Common Than You Think
Read More
-
 Listen Now
Custom Orthotics vs. Over-the-Counter Inserts: Which Are Best for Your Feet?
Read More
Listen Now
Custom Orthotics vs. Over-the-Counter Inserts: Which Are Best for Your Feet?
Read More
-
 Listen Now
The Link Between Foot Health and Posture
Read More
Listen Now
The Link Between Foot Health and Posture
Read More


